Uninstall an existing instance of SQL Server (Setup)
SQL Server の既存のインスタンスをアンインストールする
Uninstall an existing instance of SQL Server (Setup)
Uninstall
To uninstall SQL Server from Windows 10, Windows Server 2016, Windows Server 2019, and greater, follow these steps:
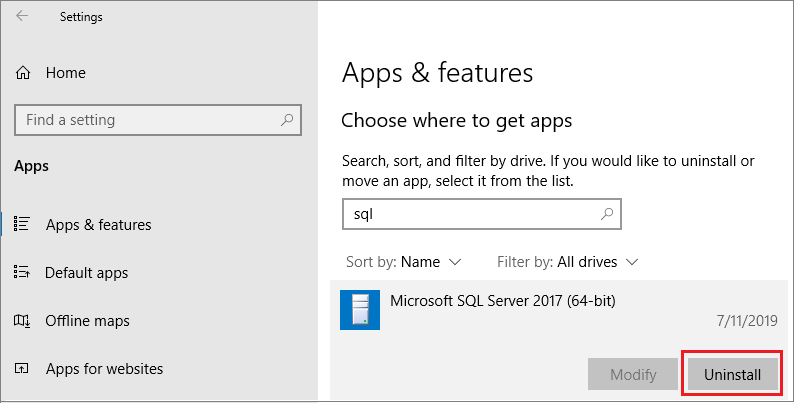
To begin the removal process, navigate to Settings from the Start menu and then choose Apps.
Search for
sqlin the search box.Select Microsoft SQL Server (Version) (Bit). For example,
Microsoft SQL Server 2017 (64-bit).Select Uninstall.
Select Remove on the SQL Server dialog pop-up to launch the Microsoft SQL Server installation wizard.

On the Select Instance page, use the drop-down box to specify an instance of SQL Server to remove, or specify the option to remove only the SQL Server shared features and management tools. To continue, select Next.
On the Select Features page, specify the features to remove from the specified instance of SQL Server.
On the Ready to Remove page, review the list of components and features that will be uninstalled. Select Remove to begin uninstalling
Refresh the Apps and Features window to verify the SQL Server instance has been removed successfully, and determine which, if any, SQL Server components still exist. Remove these components from this window as well, if you so choose.


Comments
Post a Comment